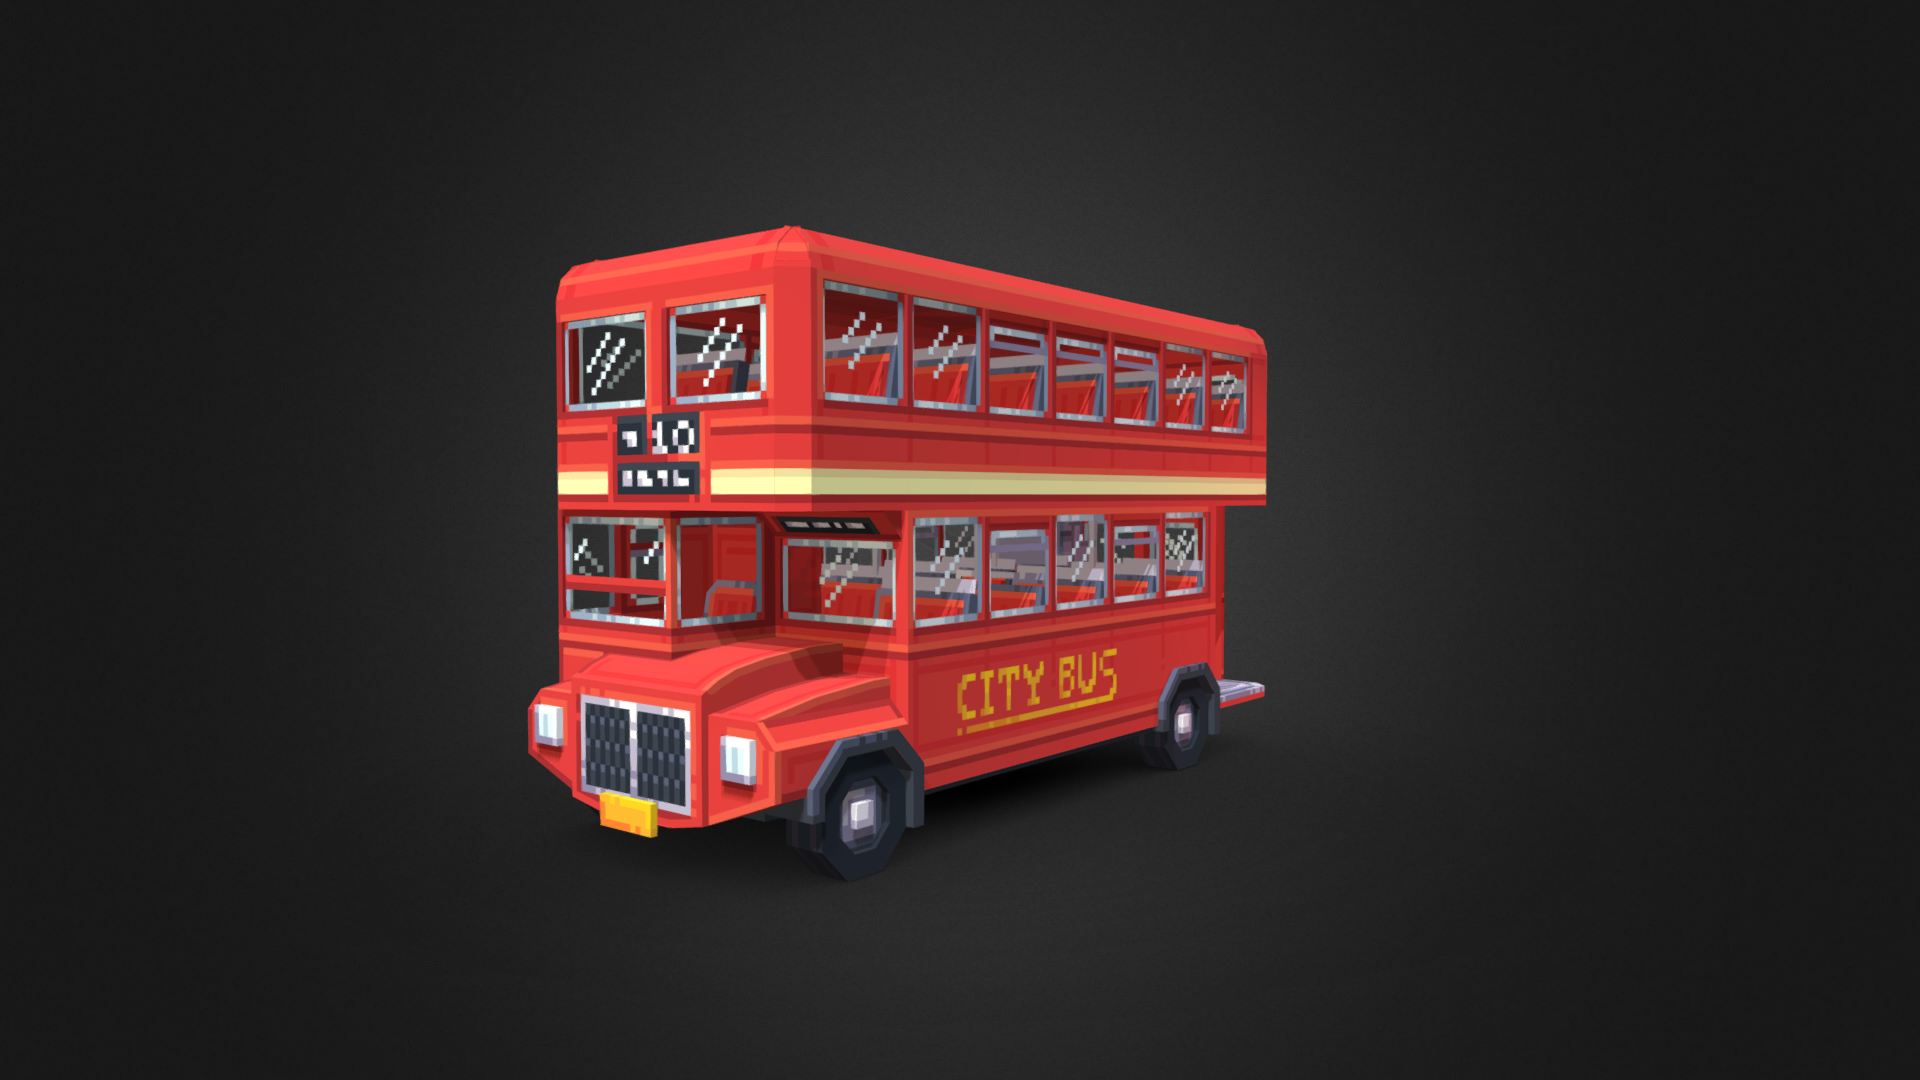
When it comes to texturing models in Blockbench, having a structured workflow can make the process much smoother. Here’s how we approach texturing in our team:
Before starting the texturing process, it’s important to have a collection of reference images that will inspire and guide the textures you’ll be creating. This can include photos, concept art, or even screenshots from other games. Here are some of the tools we use for the collection and organization of reference images:
💡 There are many tools you can use to find and compile reference images, but your main focus should be on texturing. While it’s important to fine-tune your collection of reference images and keep them organized, this won’t actually help you get your texturing done. We often find ourselves searching for that ‘perfect’ reference, when this happens it’s important to switch your focus to the texturing phase, and start laying down groundwork.
Once you have your reference collection, it’s time to create a colour palette. This will ensure that all textures in your model will have a cohesive colour scheme. We recommend choosing a base colour and then selecting a few complementary colours to create your palette.
💡 Coolors.co is a website that can be used to generate a colour palette based on a colour, or image that you input. This can be helpful when creating a colour palette for your textures in Blockbench.
With your reference collection and palette in hand, it’s time to start blocking out the texture. This involves creating the basic shapes and colours that will make up the texture. We recommend starting with the larger shapes and then adding smaller details as you go.
Once you have the basic texture in place, it’s important to add lighting direction details. This includes adding highlights and shadows to the texture to give it depth and dimension. It’s important to keep in mind where the light source will be coming from in your game, and adjust the lighting direction accordingly.
Finally, it’s time to add the fine touches that will make your texture stand out. This can include adding small details like scratches, dirt, or other imperfections. It’s important to not go overboard with these details, as they can quickly make your texture look cluttered and messy.
By following these steps, you’ll be able to create high-quality textures in Blockbench in no time. Happy texturing!

Guus is the operational director of Lothiredon Ltd, overseeing production, marketing and growth.
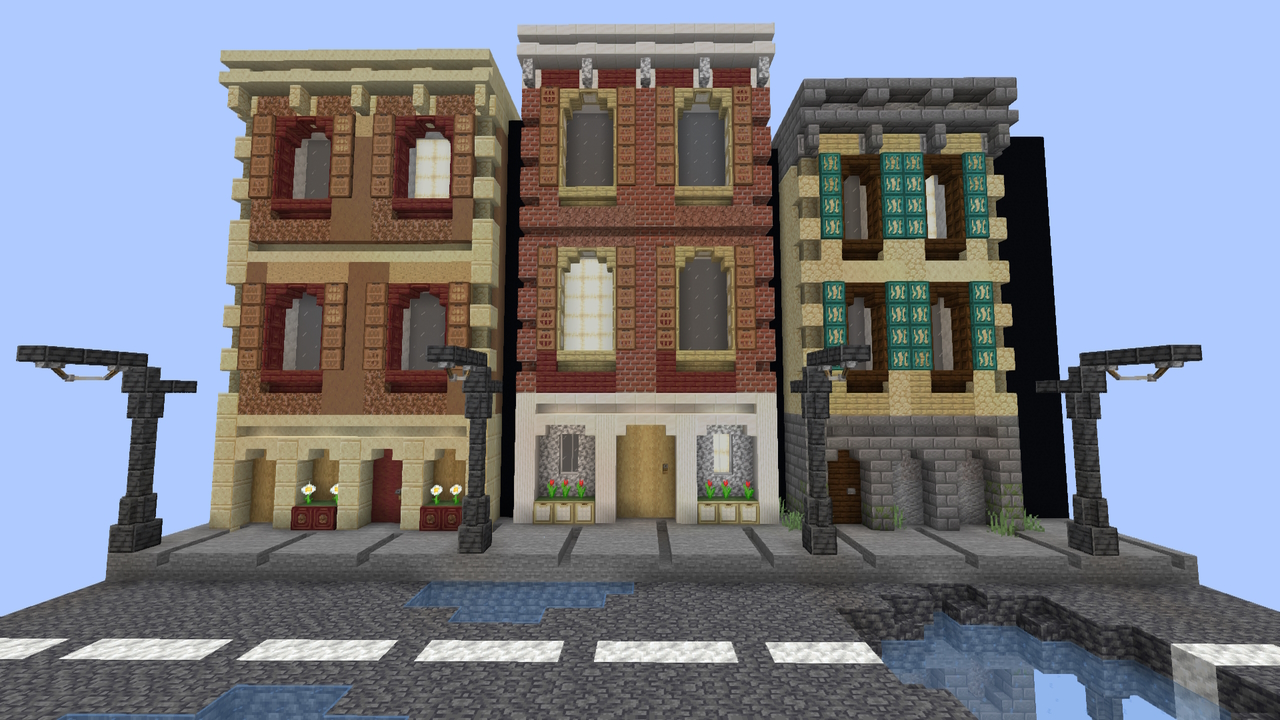
Learn how to apply colour and texture to your build with this handy guide!
Read more
Double, triple or even quadruple your building speed by using this quick-guide for the most useful WorldEdit commands while building, written by an avid command-user!
Read more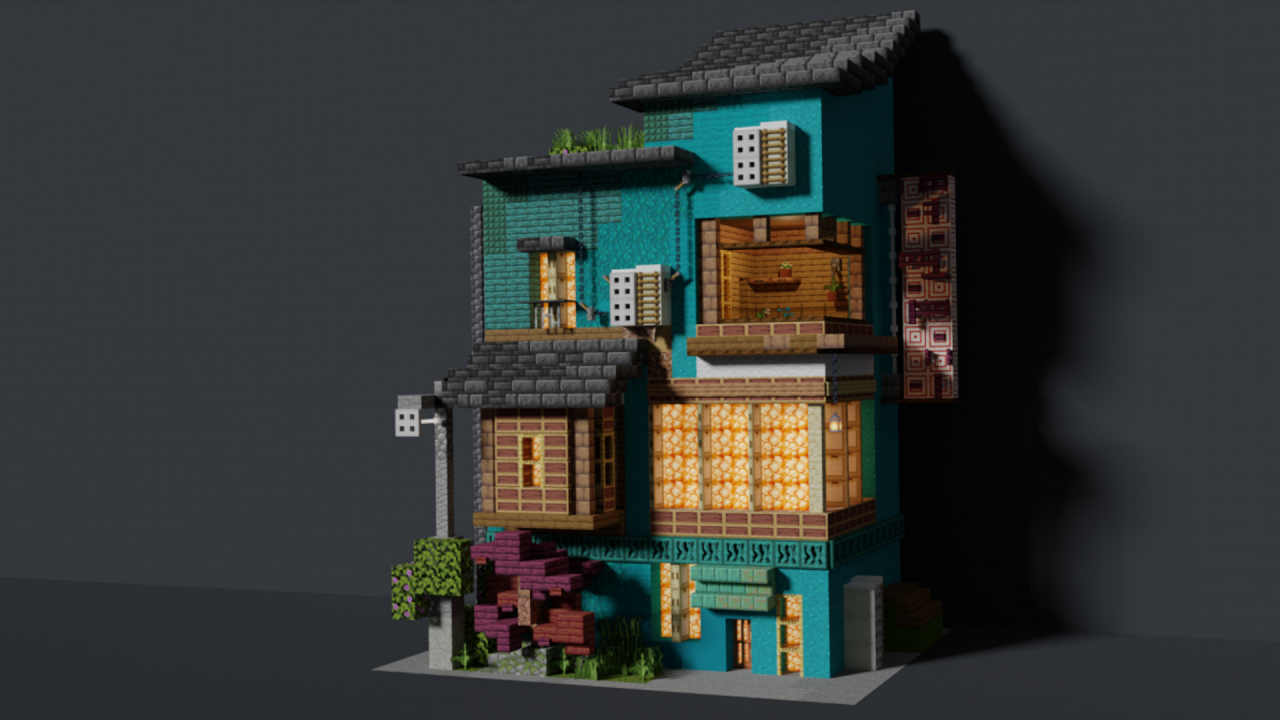
Using these 5 steps as taught by our professional builders, quickly improve your structures and building techniques in Minecraft!
Read more


